Quick carrot pickles are bright and tangy -- the perfect crunchy snack. These pickles are the perfect accompaniment to sandwiches, burgers, or grilled meats!
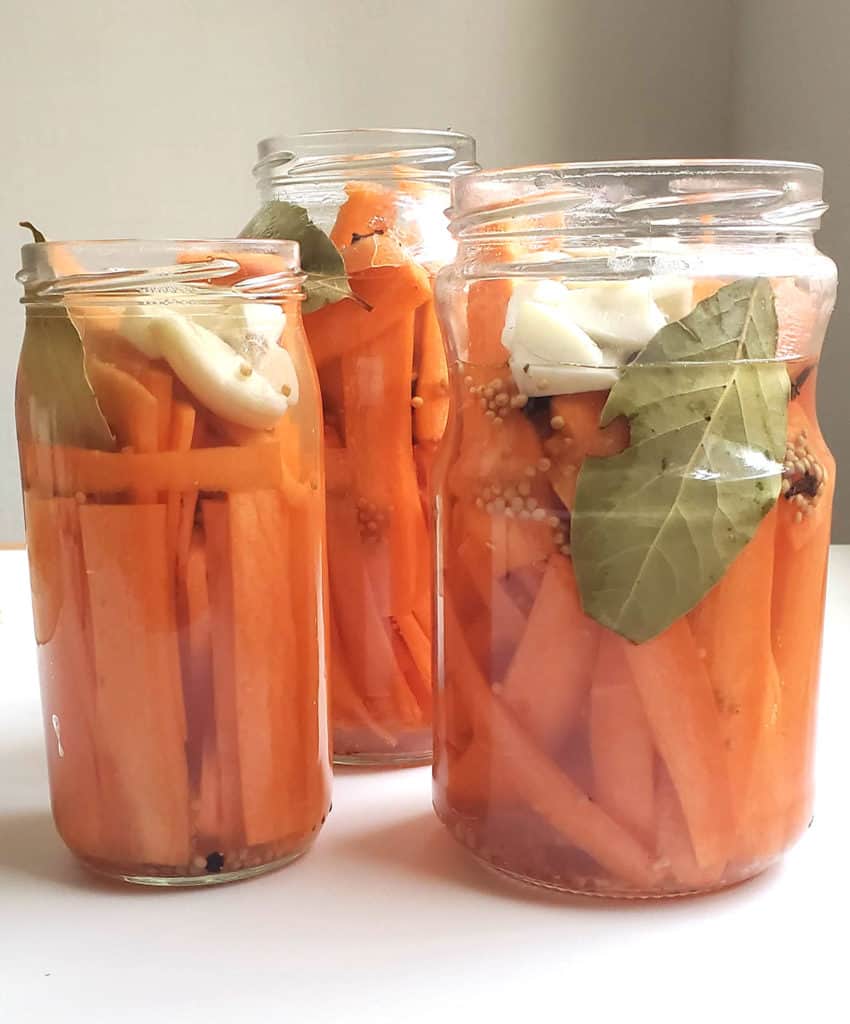
Quick carrot pickles are a simple and delicious side dish to a mild fish dinner, such as Alaskan Rockfish baked in Parchment, or Apple Maple Salmon.
In this quick pickled carrots recipe, the carrots are sliced into bite-sized, portable spears that are great for snacking any time of day. And if you like tangy, crunchy foods, then be sure to read all about these zippy Mustard Green Beans!
Quick pickled carrots would absolutely be a perfect addition to this pregnancy charcuterie board which features other savory foods such as olives, cherry tomatoes, and sweet potato chips.
Pregnant women should strive to consume a variety of vegetables every day. These quick pickled carrots are definitely an easy way to up your vegetable intake!
Why You'll Love This Recipe & What You'll Learn
- Learn how to make this quick pickled carrots recipe using carrots plus a few other pantry staples.
- These quick carrot pickles are the perfect solution for using up any carrots you may have languishing in the fridge. You will get a good result with both new and “old” carrots.
- A brine is a simple solution of water mixed with salt and other flavorings. Simmering the brine allows the flavors of the various spices to meld together.
- Easy pickled carrots are a portable, healthy vegetable snack that is perfect for a busy lifestyle (and especially for pregnant women)!
- Kids and adults alike will enjoy the mouth-watering flavor of these carrot pickles.
- The carrots can be chopped and then used as a condiment on a salad or even tacos.
- These quick pickles can last in the fridge for up to 3 weeks.
- Prep time is minimal and the carrots continue to absorb flavors while they rest in the fridge.
Key Ingredient Notes & Substitutions
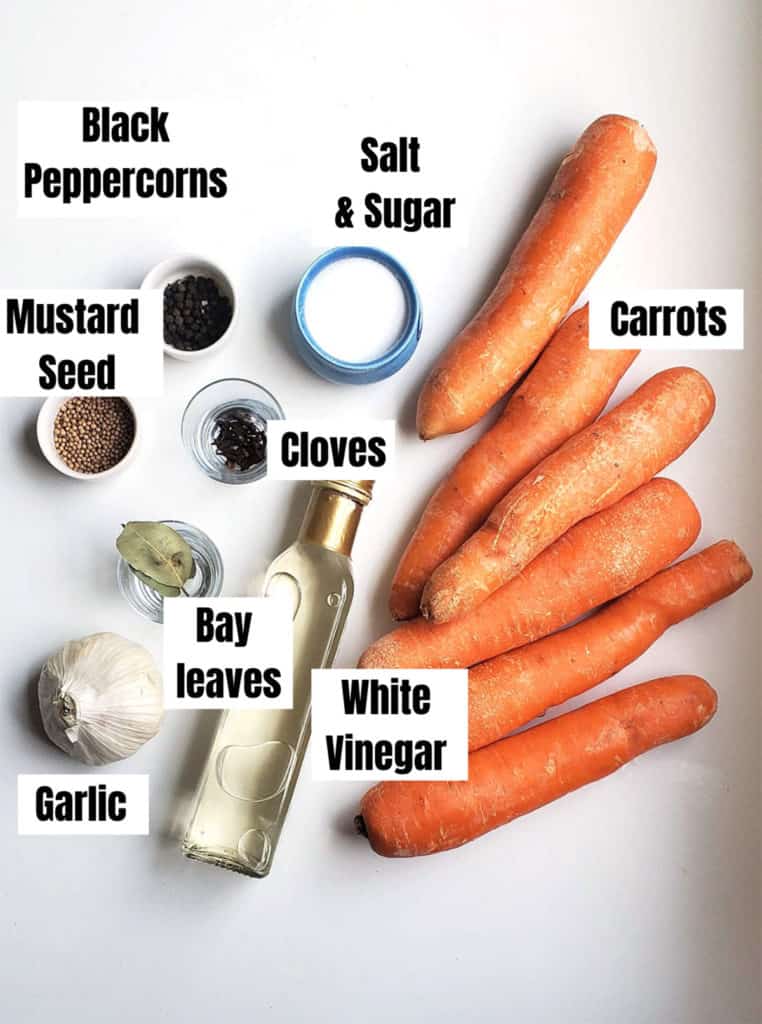
Carrots – I typically make these quick pickled carrots whenever I have an abundance of carrots just hanging out in the vegetable bin. It’s totally fine if the carrots are a tad bendy – they refresh after being sliced and added to the salt water brine solution.
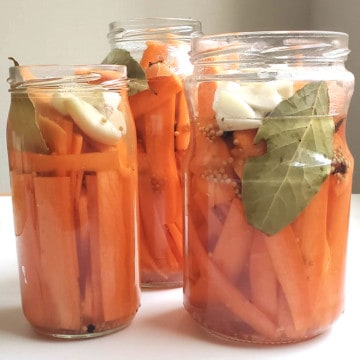
Vinegar Brine – The brine is water that has been infused with a variety of seasonings: kosher salt, cane sugar, black peppercorns, mustard seeds, bay leaf, cloves, and garlic. If you are running low on any of these ingredients, don’t fret. The most important components of the brine are the vinegar, water, and salt. In a pinch (no pun intended!), the rest of the spices can be added in reduced quantities.
If you are watching your sodium intake, then go ahead and reduce (or omit) the salt. The great thing about this recipe is that it is easily customized to your personal preference.
Complete list of ingredients and amounts is located on the recipe card below.
Quick Carrot Pickle Pregnancy Benefits
Carrots – Carrots are vegetables that are a great source of beta carotene, folate, and fiber.
Beta carotene is an antioxidant that the body converts into Vitamin A. During pregnancy, vitamin A is very important in the healthy development of the baby because it helps with proper lung development and maturation.
Importantly, vitamin A also helps the baby’s developing immune system, skin, eyes, and bone growth. Adequate Vitamin A is crucial for the health of both mama and baby during pregnancy.
The folate offered by carrots is important during pregnancy because this vitamin can reduce certain birth defects of the brain and spinal cord by more than 70 percent.
The fiber in carrots is beneficial during pregnancy because appropriate intake of fiber‐rich foods during pregnancy helps to lower the mother’s risk of diabetes, preeclampsia, and constipation.
Helpful Equipment & Tools
How to Make Quick Carrot Pickles
QUICK OVERVIEW
- After thoroughly rinsing, cut carrots into sticks.
- Pack the carrots into clean glass jars.
- Simmer the vinegar brine ingredients.
- Pour the brine over the carrots.
- Allow jars to cool to room temperature.
- Finally, cover and place jars in the refrigerator.
STEP BY STEP INSTRUCTIONS
STEP 1:
Rinse the carrots very well to remove any residual dirt or bacteria.
STEP 2:
Peel the carrots.
STEP 3:
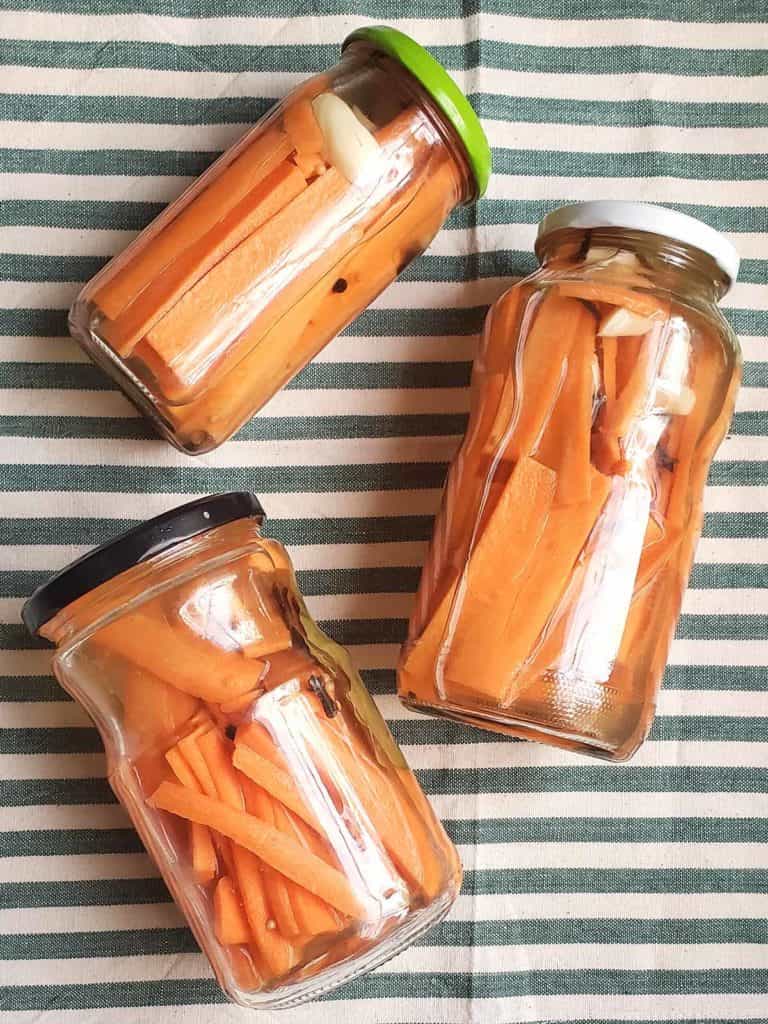
Cut carrots into thin, bite-sized spears.
STEP 4:
Tightly pack the carrots into spotlessly clean glass jars. Set jars aside.
STEP 5:
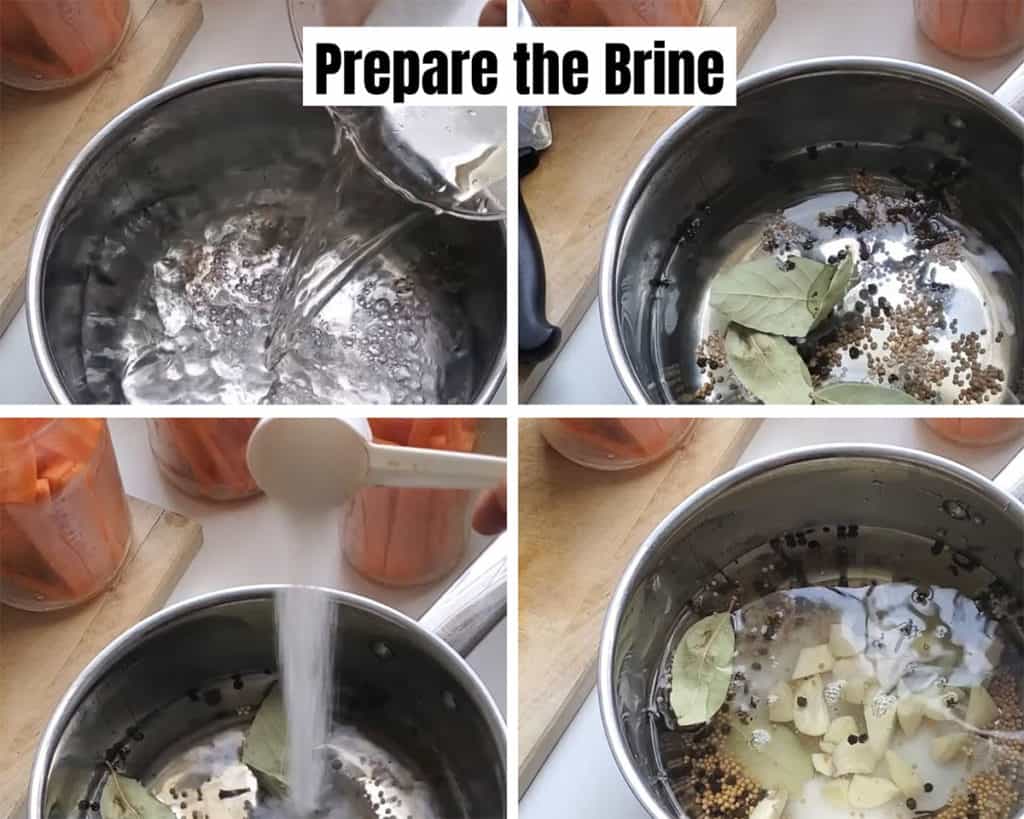
Simmer two cups water, two cups white vinegar, plus the rest of the brine ingredients in a medium-sized saucepan over medium heat for ten minutes. Stir to help dissolve the sugar.
STEP 6:
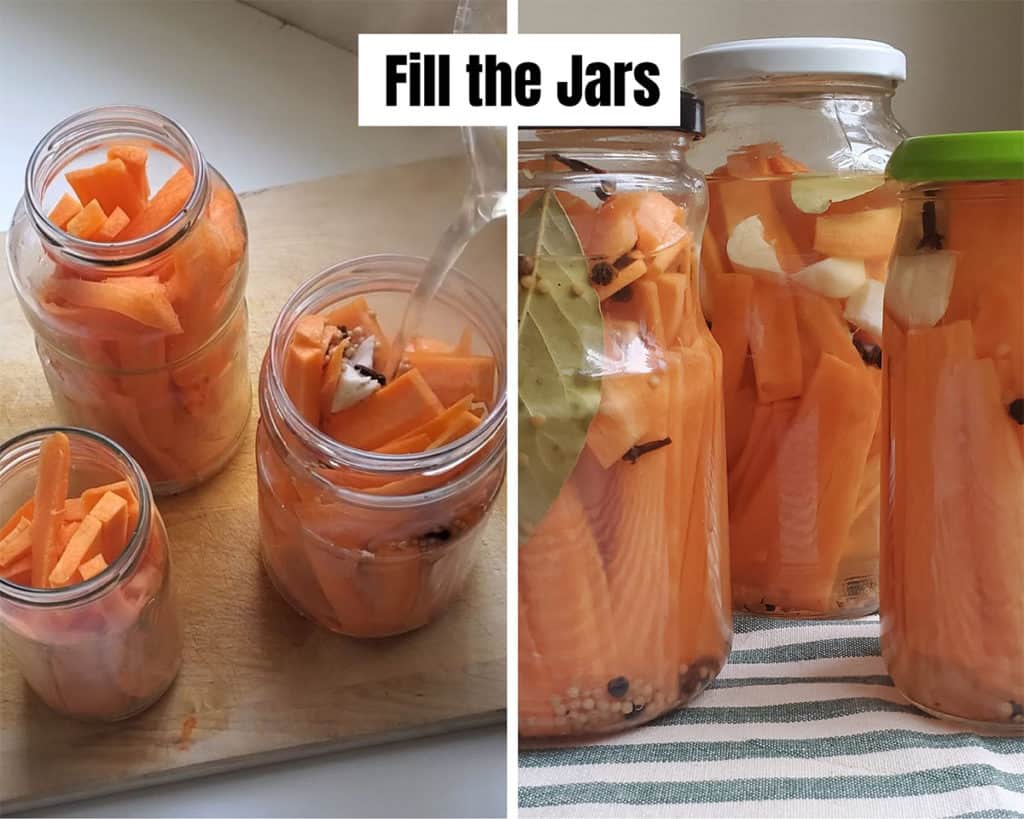
Next, pour the brine over the carrots. Add a bit of extra water if there is not enough liquid to fully immerse the carrots.
STEP 7:
Allow jars to cool to room temperature, uncovered, about one hour.
STEP 8:
Cover jars and gently shake to help disperse the brine.
STEP 9:
Finally, place jars in the refrigerator. Allow flavors to meld for at least 4 hours.
STEP 10:
Enjoy these easy pickled carrots for up to 3 weeks.
Make Ahead & Storage
- Refrigerator: Store carrots in their jars, in the fridge for up to three weeks. In order to avoid contamination, use a clean utensil when retrieving carrots from the jars.
Expert Tips
- Slice the carrot sticks very thinly. Kids enjoy veggies that are more manageable and easy to chew (at least mine do!).
- If you find that too much brine has evaporated during the simmering process, then add additional white vinegar or water to each jar in order to fully submerge the carrots.
- Save large empty glass jars (from store-bought pasta sauce, olives, etc.) so that you have generously-sized jars ready to use.
- If you don’t have any glass jars on hand, then feel free to use glass Tupperware containers.
Recipe Notes
If garlic is not your thing, then feel free to omit. I’m a huge garlic fan and thus could never go without!
Variations on Pickled Carrots
- If you enjoy a spicy twist, then why not add some sliced jalapeno rings to each jar?
- If you only have apple cider vinegar, then feel free to use it in place of the white vinegar.
- For additional variety, try adding in other sliced, crispy vegetables such as radishes or red onions.
- Use rainbow colored carrots (orange, yellow and purple) for a beautiful, giftable jar!
- Other flavorings which would be delicious additions to the brine also include: ginger, dill seeds, or even fresh dill.
FAQS
Not at all! Like most foods, pickled vegetables can be enjoyed in moderation during pregnancy. The key is to keep them properly refrigerated during storage. As long as the pickles are stored at a safe, cold temperature, they remain safe to eat.
For best flavor, allow the carrots to pickle in the fridge for a minimum of 4 hours before eating. This is because the longer the carrots rest in the brine, the more potent the flavor.
Yes, pickled carrots have all the benefits that carrots can offer: beta carotene, fiber, and folate. As with all foods, enjoy in moderation and be cognizant that pickles do generally have higher sodium content.
Related Recipes
Recipe
Quick Carrot Pickles
Author:Equipment
Ingredients
- 1.5 lbs carrots
- 2 cups white vinegar
- 2 cups water
- 8 cloves garlic
- 2 tbsp sugar
- 2 tbsp salt
- 1 tbsp black peppercorns
- 1 tbsp mustard seeds
- 1 tsp cloves
- 3 bay leaves
Instructions
- Rinse carrots thoroughly.
- Peel carrots.
- Slice carrots into thin strips.
- Pack the carrot strips into clean glass jars. Set jars aside.
- To a medium sized pot, add water and all remaining brine ingredients.
- Simmer contents of pot over medium heat for 10 minutes, stirring occasionally to help dissolve sugar.
- Once sugar is dissolved, carefully pour brine into the jars containing the carrot strips.
- Allow jars to cool to room temperature, uncovered.
- Cover jars and place into fridge. Allow flavors to meld for at least 4 hours.
Video
Notes
- Slice the carrot sticks very thinly.
- If you find that too much brine has evaporated during the simmering process, add additional white vinegar or water to each jar in order to fully submerge the carrots.
- Save large empty glass jars (from store-bought pasta sauce, olives, etc.) so that you have generously sized jars ready to use.
- If you don’t have any glass jars on hand, feel free to use glass Tupperware containers.


Leave a Reply